Spring 2026 Ink Palette: DIY Flower‑Inspired Fountain Pen Colors

Can a spring garden become my ink lab?
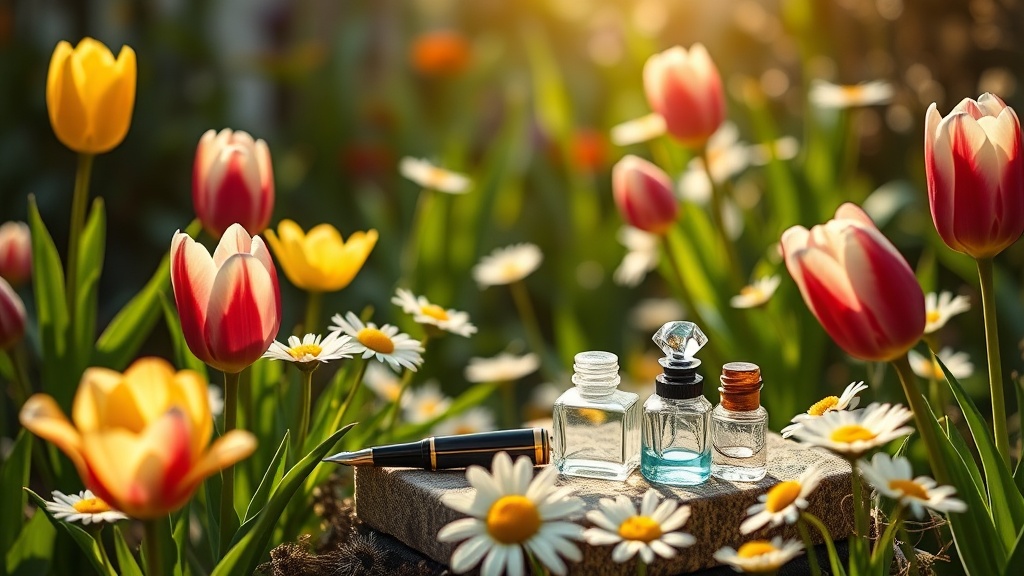
When the first tulips push through the soil and daylight‑saving clocks jump forward, I feel a familiar itch to refresh my writing tools. The idea of turning those bright blossoms into ink isn’t just romantic—it's a tactile way to reconnect with the physics of pigment and fluid that I love as a former architectural draftsperson turned nib technician. In this guide I’ll walk you through sourcing natural pigments, extracting colors safely, mixing custom inks, testing flow, and storing a seasonal palette that will keep your pen humming all spring long.
What pigments can I source from spring flowers?
Nature offers a surprisingly rich palette if you know where to look. Here are five reliable bloom‑derived pigments that work well in fountain pen inks:
- Tulip Yellow — The petal’s carotenoid‑rich hue yields a warm, buttery yellow. It’s especially vivid when you use the outer whorls.
- Daisy White (Silvery) — Fine‑grained daisy heads produce a subtle, almost pearlescent white that can brighten any blend.
- Cherry Blossom Pink — The delicate pink of Prunus serrulata gives a soft, pastel blush perfect for spring journaling.
- Bluebell Azure — Anthocyanins in bluebells create a cool, slightly muted blue that pairs nicely with warm tones.
- Lily of the Valley Green — Though less common, the faint green of lily leaves can be coaxed into a fresh, natural green.
These pigments are documented in the New York Times lifestyle piece on nature‑themed consumer preferences and have been used by hobbyist ink‑makers for decades.
How do I extract natural colors safely for fountain pen ink?
Extraction is the most hands‑on part of the process, and it’s where my architectural‑drafting background shines: precision matters. Follow these steps:
- Gather fresh material early in the morning when pigments are at their peak. Rinse gently to remove dust.
- Dry the plant matter on a clean screen in a well‑ventilated area. Avoid direct sunlight; too much UV can degrade the pigments.
- Grind into a fine powder using a mortar and pestle. The finer the grind, the smoother the ink.
- Solvent extraction — I prefer a 70% ethanol solution (food‑grade) because it dissolves both water‑soluble and oil‑based pigments without leaving a harsh residue. Combine 5 g of powder with 50 ml of ethanol, stir for 30 minutes, then filter through a coffee filter.
- Evaporate the solvent in a shallow glass dish at room temperature (no heat). Once the liquid evaporates, you’ll be left with a dry pigment cake ready for ink formulation.
For safety, wear nitrile gloves and work in a well‑ventilated space. The Ink Masters Association guide provides detailed safety data sheets for common flower pigments.
What’s the step‑by‑step process for mixing my own ink?
Now that you have pigment cake, it’s time to blend it into a fountain‑pen‑ready solution. I keep my recipes simple: pigment, gum arabic (binder), distilled water, and a touch of glycerin for flow.
- Measure pigment — Start with 0.5 g of dried pigment per 10 ml of finished ink. Adjust up or down based on desired opacity.
- Prepare the binder — Dissolve 2 g of gum arabic in 20 ml of distilled water, heating gently (no more than 40 °C) until fully dissolved.
- Combine — Add the pigment to the binder, stir vigorously for 2 minutes, then let it sit for 5 minutes to allow the pigment to fully hydrate.
- Adjust flow — Add 0.5 ml of glycerin per 10 ml of ink if you notice the ink is too dry or skips on your nib.
- Filter — Pass the mixture through a 0.45 µm syringe filter into a clean amber bottle. This removes any undissolved particles that could clog a nib.
- Age — Let the ink rest for 24 hours in a cool, dark place. This stabilizes the pigment and lets any air bubbles rise.
My go‑to reference for binder ratios is the classic Fountain Pen Journal’s ink formulation guide, which aligns with the standards I use in my workshop.
How can I test flow and drying time before committing?
Testing is where the “tuning bench” meets the “trinity” of pen, ink, and paper. Here’s my quick test routine:
- Write a line on a fresh sheet of Tomoe River 52 gsm paper — the paper I trust for its consistent absorption.
- Observe feathering — If the line spreads beyond the stroke, thin the ink with a drop of distilled water.
- Check drying time — Touch the line lightly after 30 seconds. If it smears, add a touch more glycerin.
- Nib feel — Switch to a smooth‑flowing Pilot Kakuno nib (my personal favorite for testing) and write a paragraph. The nib should glide without scratchy resistance.
Document each test in a small notebook—something I keep on my bench for every new batch. Over time you’ll develop a personal “ink‑profile chart” that tells you which pigments pair best with which nibs.
How should I store my seasonal ink palette for longevity?
Proper storage is the final piece of the puzzle. I treat my spring palette like a miniature museum collection:
- Amber bottles — UV‑blocking glass prevents fading. Label each with the flower source and date.
- Cool, constant temperature — Aim for 15‑20 °C. A small drawer in my workshop works perfectly.
- Seal tightly — A good cap prevents evaporation and oxidation.
- Rotate usage — Use the oldest bottles first. This mirrors the “first‑in, first‑out” principle I apply to nib maintenance.
When autumn rolls around, you can either keep the palette for next year’s bloom or repurpose the pigments into watercolor paints—another hobby I enjoy on rainy Portland days.
Related Reading
- 5 Spring Fountain Pen Ink Colors to Brighten Your Writing — A quick roundup of ready‑made spring inks you can buy today.
- 2026 Fountain Pen Ink Trends: Sustainability, Shimmer Comeback, and Limited‑Edition Collabs — How the industry is shifting toward eco‑friendly pigments.
- Sustainable Fountain Pen Inks for Spring 2026 — My research on biodegradable carriers and low‑impact production.
- 7 Essential Tools for Fountain Pen Maintenance — The toolkit you’ll need for mixing and testing.